If you are migrating your data to Nookal, along with a collection of data files you may need to combine the multiple files into a single ZIP file for easier transfer.
️ What’s a ZIP file?
A ZIP file is a collection of computer files and folders that has been compressed (a.k.a “zipped”) so they use less space on your hard drive – and are faster to transfer.
The compressed files are stored within a single ‘archive‘ file that commonly has a ‘zip‘ filename extension – however, different compression types use different extensions.
When we compress multiple files or folders into a ZIP file, it is combined into a single file – for example:
- If we compress:
document1.doc (123KB)document2.csv (456KB)document3.pdf (789KB)
- We’ll get
documents.zip (1,234KB)
You can then transfer that single ZIP file to us, and we can decompress or “unzip” it back into the multiple files to be processed.
You shall not Pass(word)… please…
Please ensure you don’t set a password on any files you transfer to us. Thank you.
Creating a ZIP File on Windows
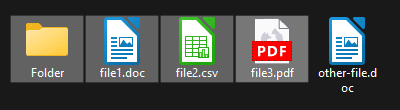
1. Locate the files and/or folders to be zipped.
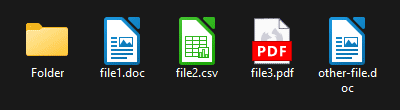
2. Hold the CTRL Key and click on each file to make a selection of all the files/folders.
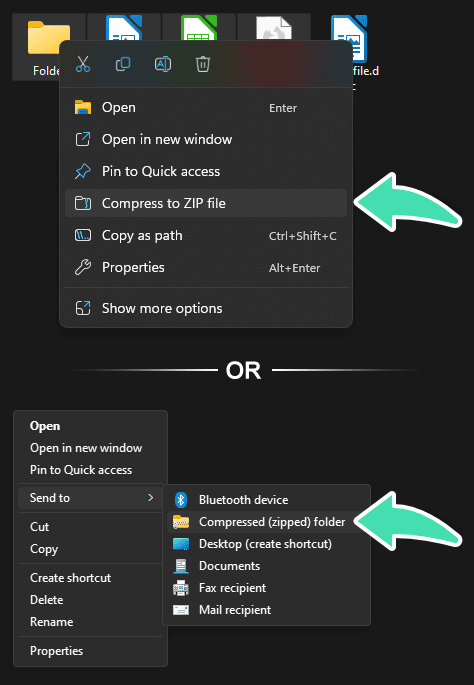
3. Right-click on any of the selected files/folders and select the Send to > Compressed (zipped) folder option.
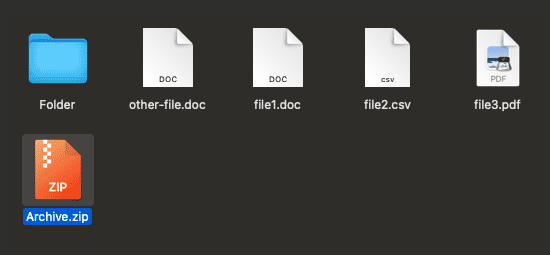
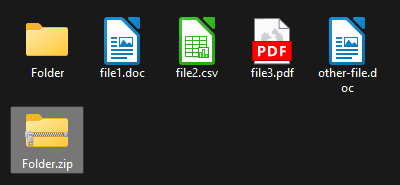
4. When processing has finished, you’ll find the ZIP file next to the original documents – ready to transfer!
Creating a ZIP File on Mac OSX
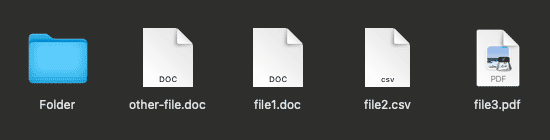
1. Locate the files and/or folders to be zipped.
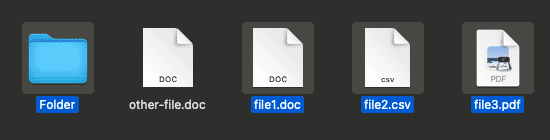
2. Hold the CMD Key and click on each file to make a selection of all the files/folders.
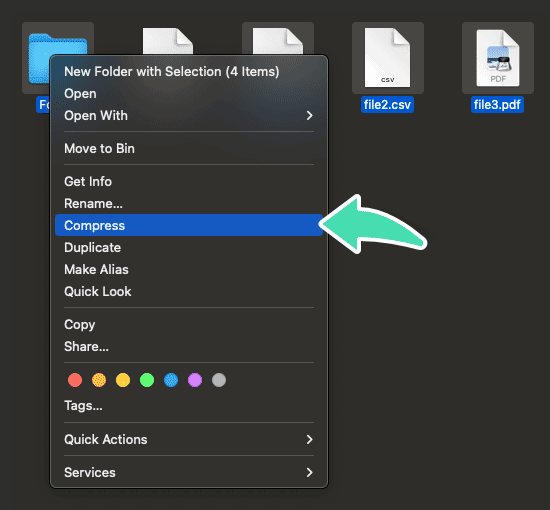
3. Right-click (or hold the CTRL Key and click) on any of the selected files/folders and select the “Compress” option.
4. When processing has finished, you’ll find the ZIP file next to the original documents – ready to transfer!